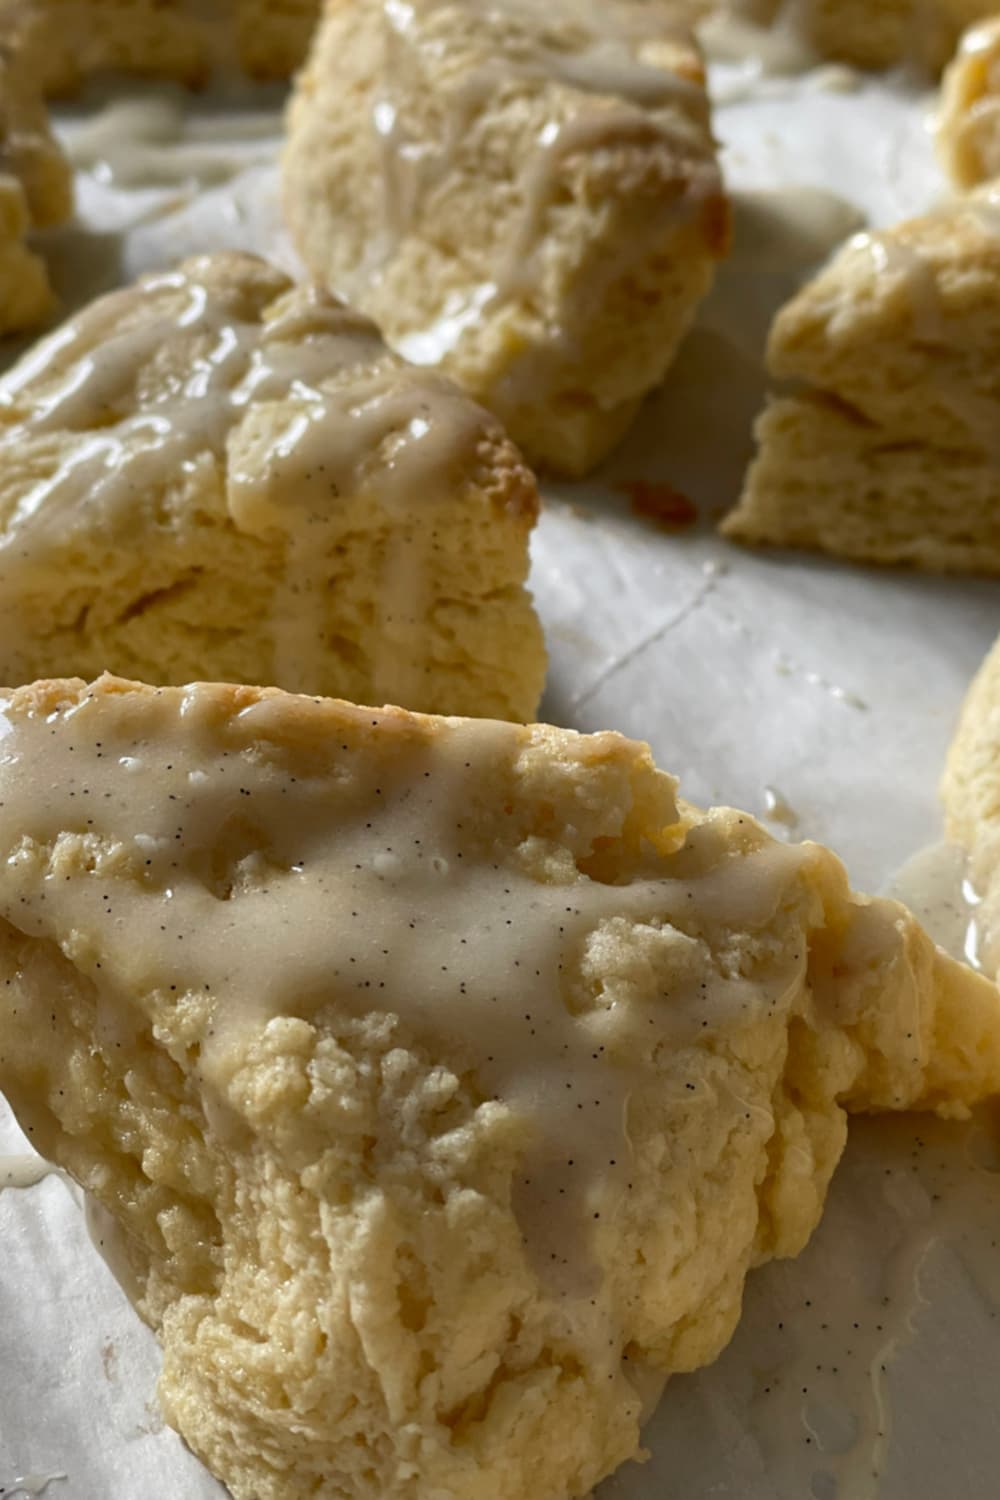
You followed the recipe exactly. Cold butter, light mixing, hot oven. And yet your scones came out flat, dense, and disappointingly un-flaky. The problem isn't your technique: it started before you even began mixing.
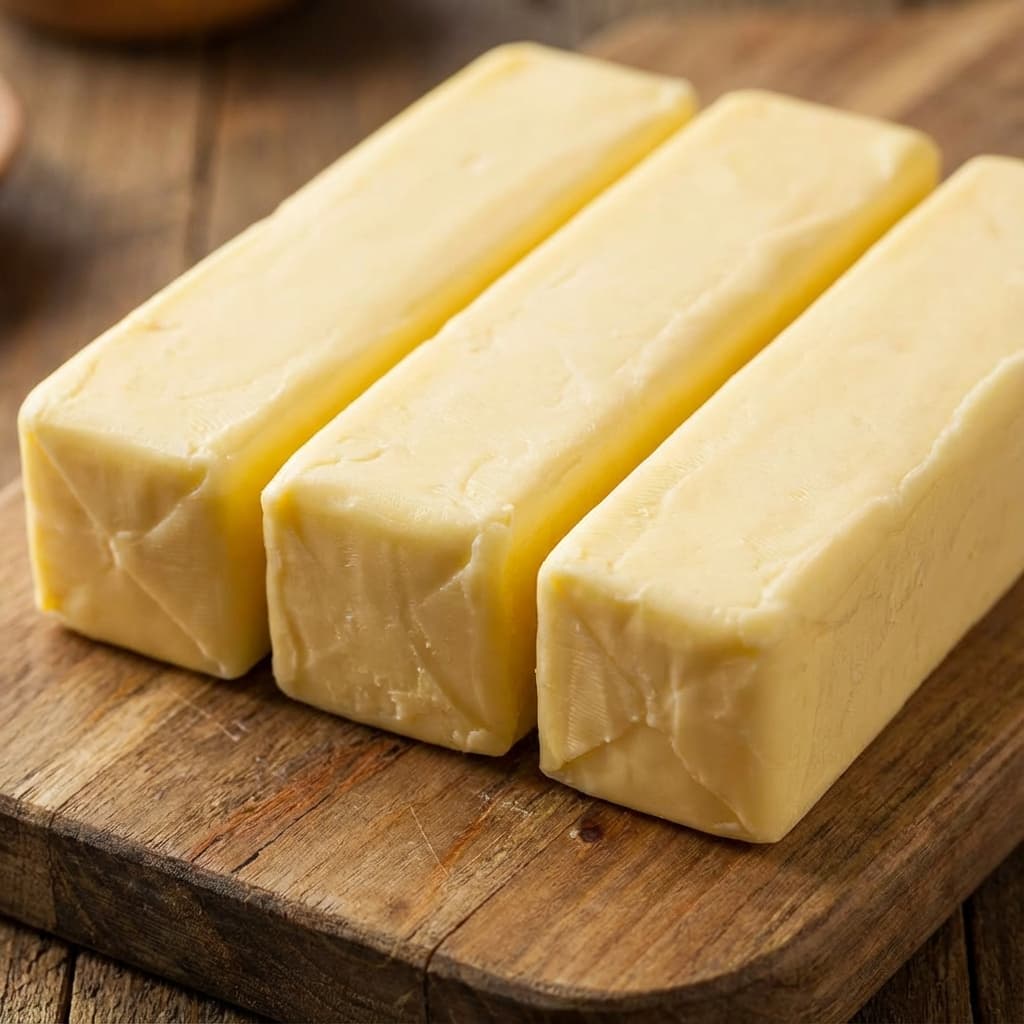
Here's what years of baking has taught me: speed is overrated. A slow baker with cold butter will beat a fast baker with warm butter every time. I've seen it happen in my own kitchen more times than I can count. If your butter starts at 65°F, no amount of working quickly will save it. Temperature is the variable that overrides everything else.

The reason is physics, not skill. Butter contains about 16-18% water. When cold butter hits a 400°F oven, that water flashes to steam and pushes the dough apart from the inside. Those steam bursts create the flaky layers you're chasing. Room temperature butter? It blends completely into the flour instead of staying in distinct pieces. No chunks, no steam pockets, no flake.
Once you understand this, you stop worrying about speed and start worrying about starting temperature. That shift changes everything.

This recipe puts everything we're about to discuss into practice: cold butter cut into visible pieces, minimal handling, and a hot oven for maximum steam. It's the best way to see the difference temperature makes.
The Two Mechanisms Behind Flaky Scones
Cold butter creates flakiness through two things happening at once. You need both.
Fat Layering
When you cut cold butter into flour, those visible chunks aren't mistakes. They're architecture. Each piece acts like a tiny wall between layers of dough. When the scone bakes, the butter melts and leaves behind a gap. Stack enough of those gaps and you get visible, pull-apart layers.
If your butter is too warm, it blends completely into the flour. You end up with one uniform mass instead of a patchwork. The texture becomes tender and crumbly (cake-like) rather than flaky and layered.
Steam Power
This is the part most recipes gloss over.
Butter is roughly 80% fat and 16-18% water. When cold butter hits a hot oven, that water doesn't just evaporate: it explodes into steam. Steam expands rapidly and pushes the dough layers apart from the inside. Each burst creates an air pocket. Those pockets are what give scones their lift and their characteristic craggy tops.

Room temperature butter is soft enough to fully incorporate into the flour. Instead of distinct pieces that melt and leave gaps, you get a uniform dough with nowhere for steam to create separation. That's why warm-butter scones come out flat even when everything else is done right.
What I've Observed Over Hundreds of Batches
After years of baking scones, the pattern is unmistakable:
Cold Butter
35-40°F
Stays in discrete pea-sized chunks that don't fully blend with flour. Creates fat layers and steam pockets in the oven.
Result
Layered, flaky, lofty scones with craggy crisp edges. Visible layers throughout.
Room-Temp Butter
68-72°F
Soft and pliable, easily smears and fully blends into flour, coating all particles.
Result
Tender, crumbly, cake-like texture. No flaky layers or steam pockets. Uniformly dense.
Melted Butter
Liquid
Completely integrates into batter. No solid fat pieces remain during mixing.
Result
Flat, moist "cream scone" texture. Spreads during baking. Shorter, denser.
The difference is obvious the moment you pull them from the oven. Cold butter scones rise tall with craggy tops; warm butter scones spread flat. Same recipe, same oven, completely different results.
The Wrong Advice (And Why It Persists)
Most scone recipes focus on speed: "Work quickly so the butter doesn't warm up." That's true, but it misses the point.
Speed matters less than starting temperature. I learned this the hard way during a summer baking session when my kitchen was 80°F. I worked as fast as I could, but those scones came out flat anyway. The butter had already softened before I started mixing.
The other common myth: "Those butter chunks will melt out and make greasy scones." In my experience, the opposite is true. The more visible butter you see in raw dough, the more flaky layers you get in the finished scone. Distinct butter pieces melt during baking and leave behind air gaps. Fully incorporated butter just makes the texture heavier.
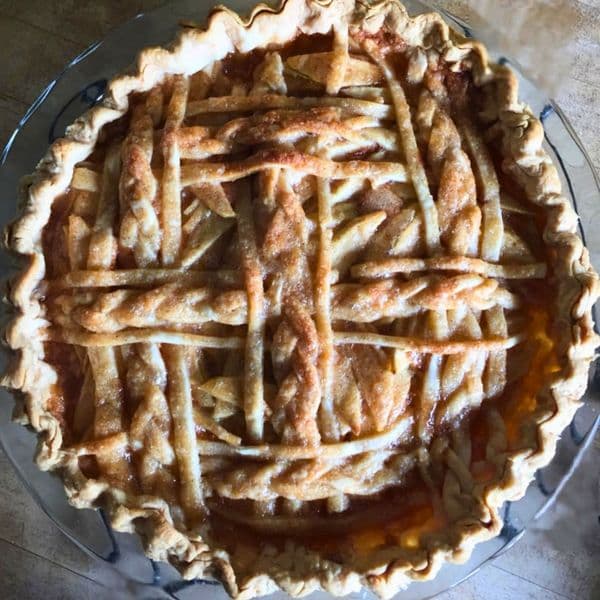
The same principle applies to pie crust. If you're troubleshooting tough or dense pastry, check butter temperature first.
Practical Techniques That Work
The Frozen Butter Method
This has become my go-to approach. The extra cold gives you more margin for error:
- Freeze a stick of butter for at least 30 minutes (overnight is fine)
- Grate it directly into your flour mixture using a box grater
- Toss gently with a fork to distribute
- Proceed with your recipe
The grating creates tiny, ultra-cold pieces that stay solid through mixing. You get even distribution without the hand contact that warms butter quickly.
The Traditional Cut-In Method
If you prefer cutting butter into flour:
- Start with butter straight from the refrigerator (35-40°F)
- Cut into 1/2-inch cubes before adding to flour
- Use a pastry cutter or two knives, not your hands
- Stop when pieces are pea-sized. Visible chunks are correct.
The "Chill Everything" Approach
For maximum insurance, refrigerate all your ingredients. Not just the butter.
- Refrigerate your flour, sugar, and salt for 10-15 minutes before starting. Warm flour acts as a heat source the moment it touches cold butter.
- Refrigerate your mixing bowl too
- Use cold eggs and cold cream (straight from fridge)
- If your kitchen is warm, work on a marble slab or chilled baking sheet
- Refrigerate shaped scones for 15-30 minutes before baking
This last step makes a noticeable difference. The extra cold gives you a stronger steam burst when scones hit the hot oven.
Don't Twist Your Biscuit Cutter
When cutting scones with a round cutter, press straight down and pull straight up. Twisting seals the edges and inhibits rise.
Use a Hot Oven (400-425°F)
A properly preheated oven is crucial. If your oven isn't hot enough, the butter may slowly ooze out without creating those sudden steam pockets. Verify with a thermometer. No shortcuts.
When Cold Butter Matters Less
Not every baked good needs this approach:
- Cookies: Room temperature butter is usually correct (you want spread and chewiness)
- Cakes: Creaming requires soft butter for air incorporation
- Pie crust: Cold butter matters here too (same steam principle)
- Biscuits: Very similar to scones; cold butter essential
If you want flaky, layered texture, cold butter is non-negotiable. If you want tender and cakey, warm butter is the right choice.
Frequently Asked Questions
Yes, and it's actually ideal. Frozen butter grated directly into flour creates ultra-cold pieces that stay solid through mixing. This method is more consistent than refrigerator-cold butter, especially in warm kitchens.
My Go-To Tools for Cold Butter Scones
The right tools help maintain cold butter temperature throughout mixing and shaping:
If you click on links we provide, we may receive compensation.
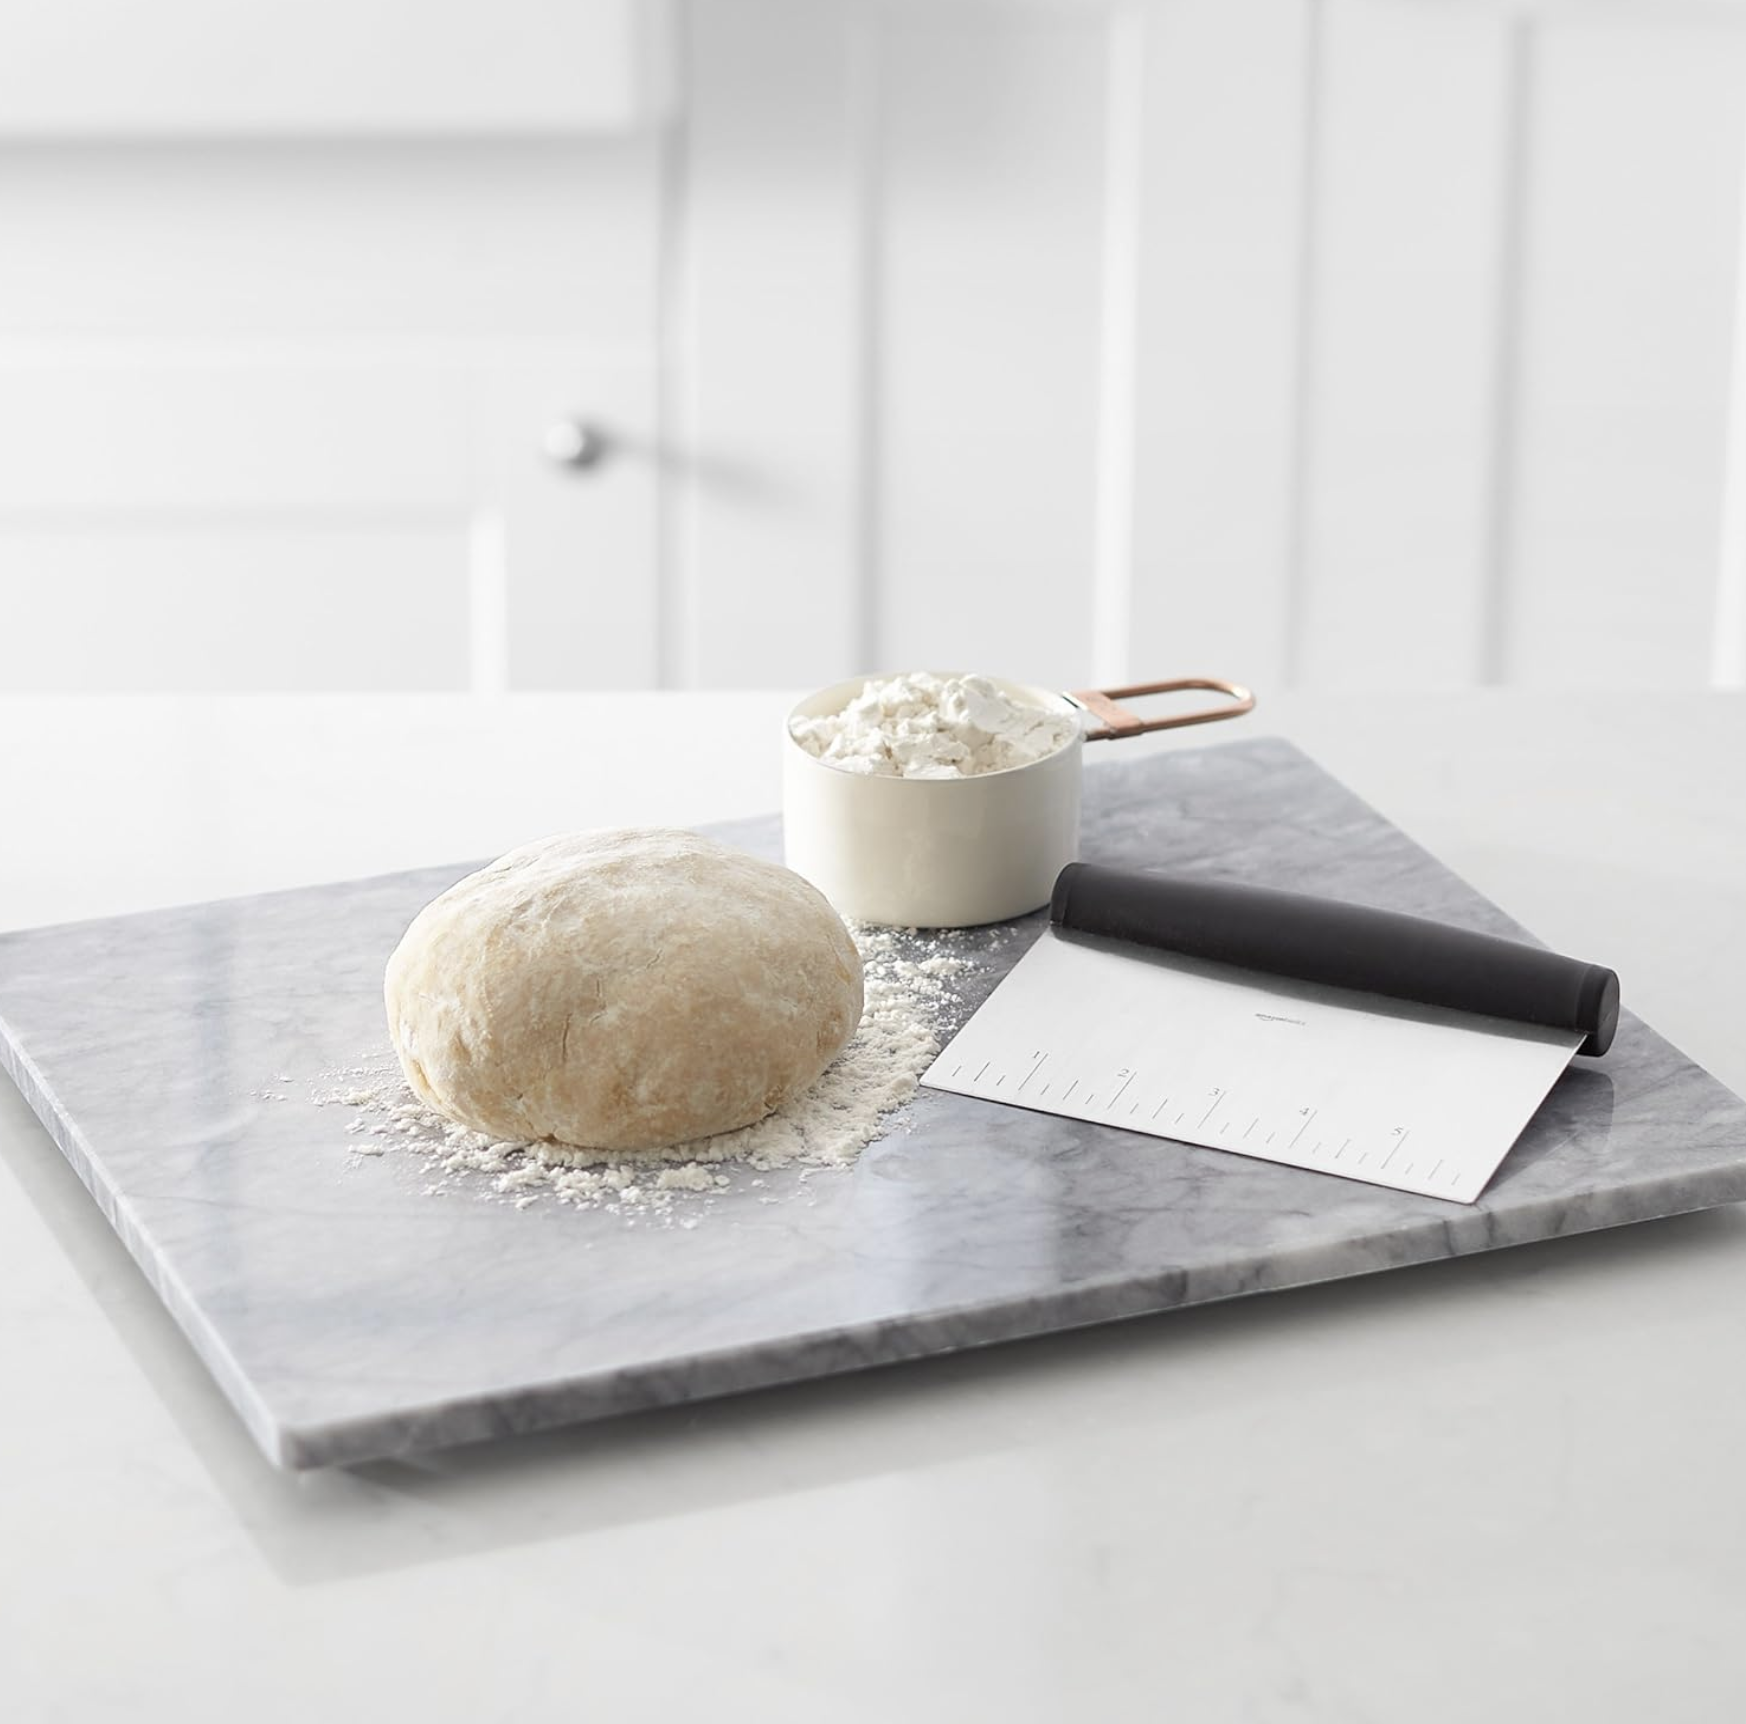
Multi‑Purpose Stainless Steel Scraper/Chopper
This sturdy little scraper is my kitchen MVP for quick, clean prep.
BUY ON AMAZON
Aluminum Commercial Quality Sheet Pan
My go-to sheet pan for everything from roasted veggies to cookies.
BUY ON AMAZON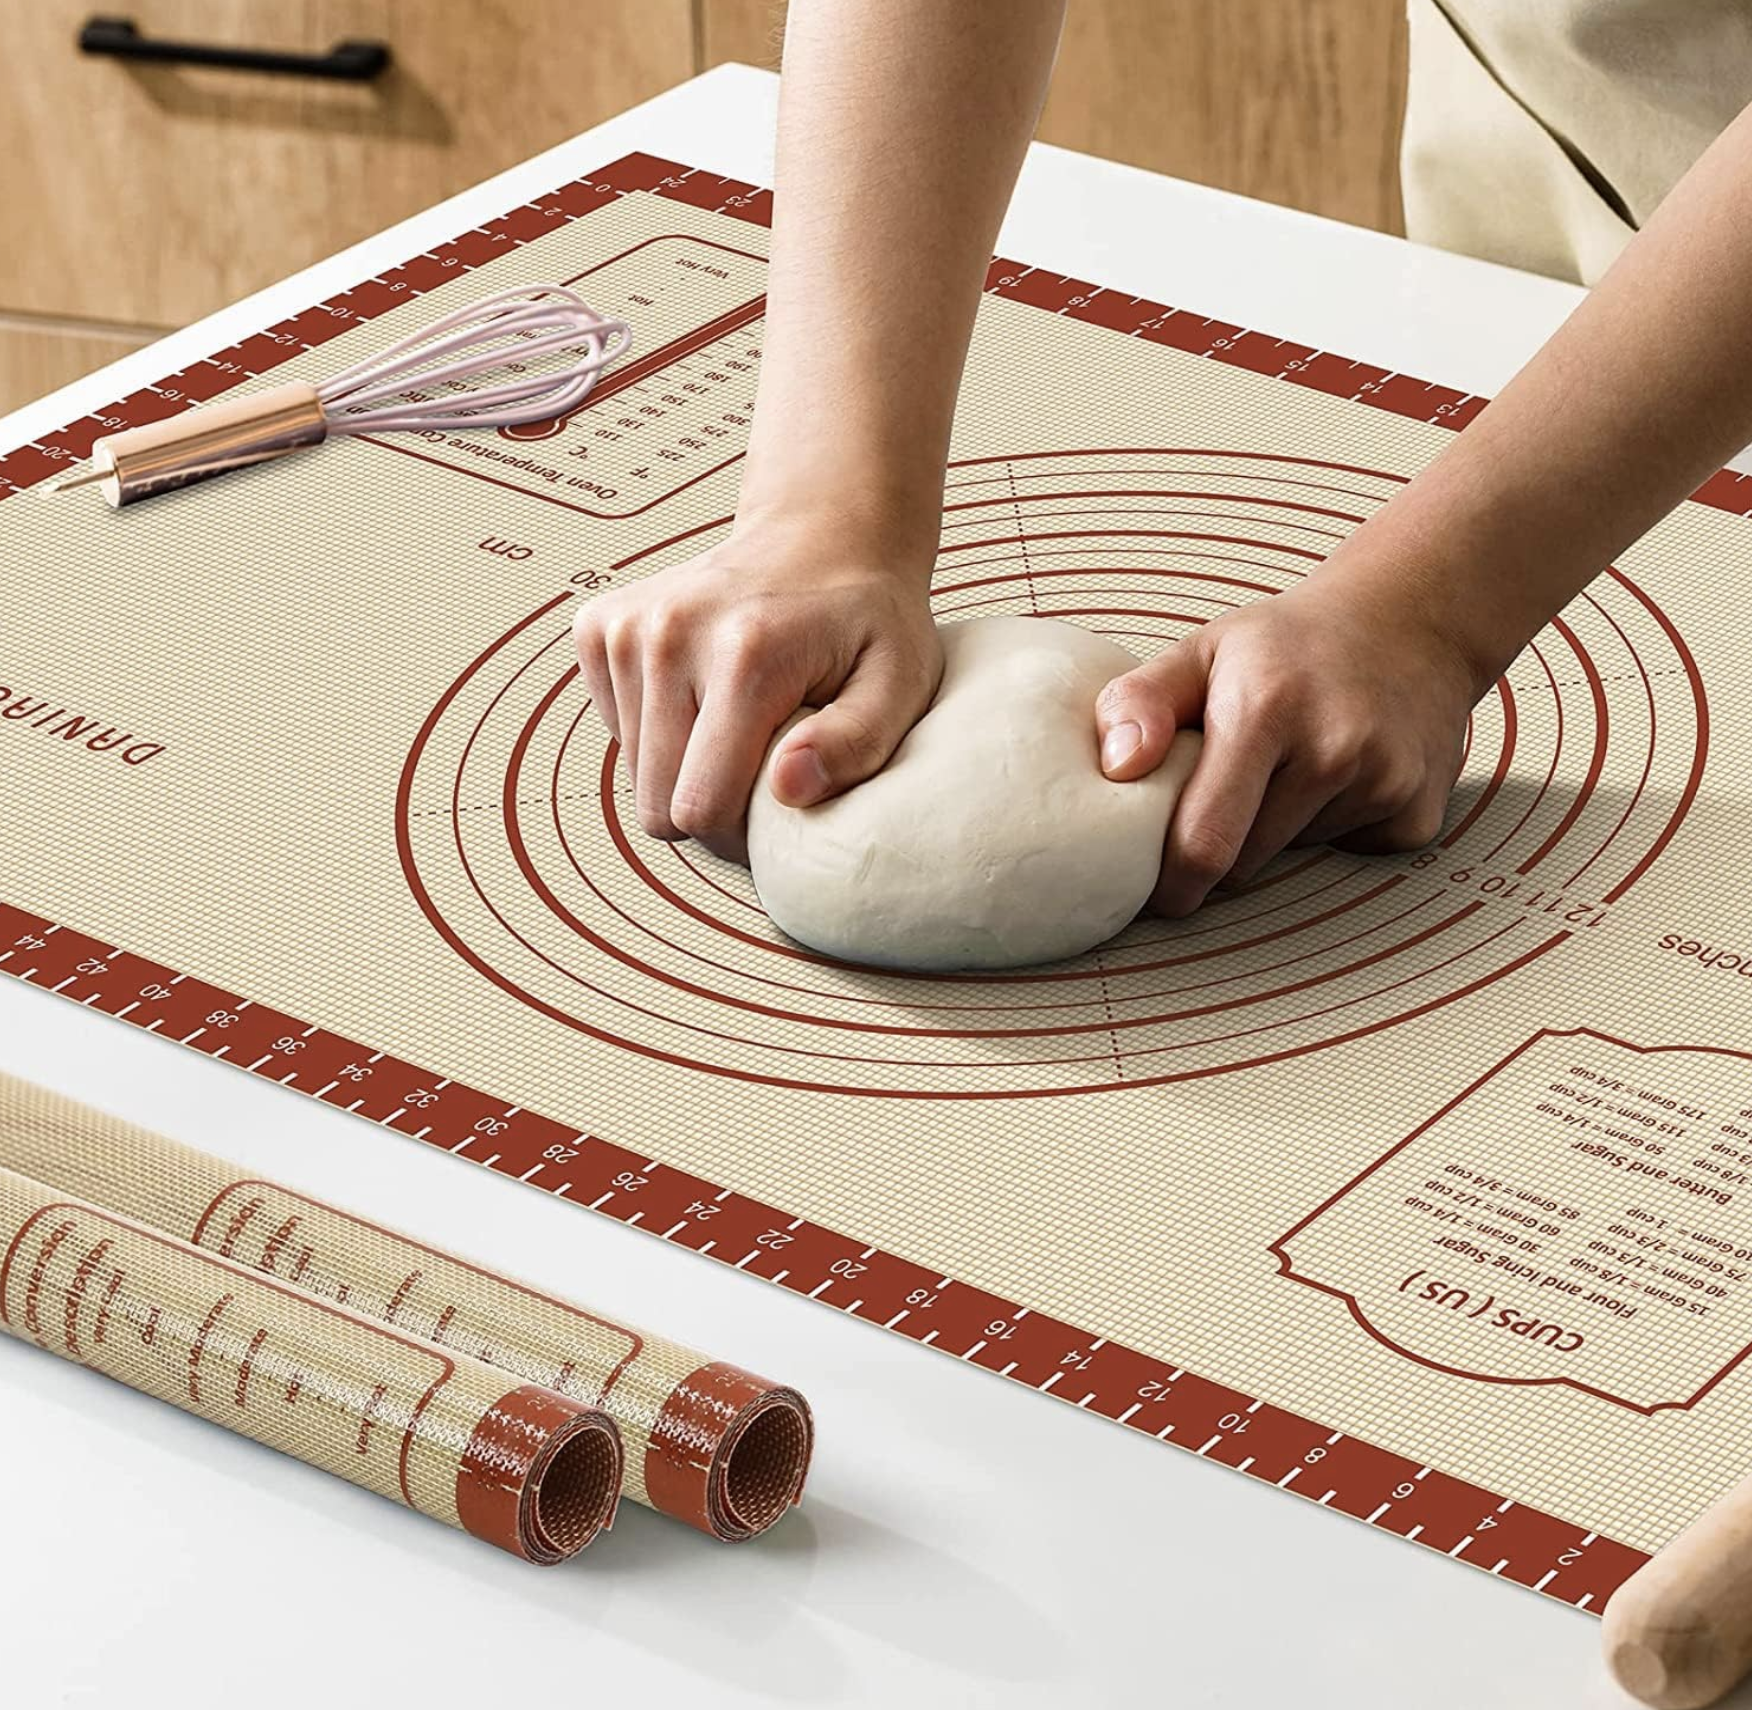
Silicone Baking Mat
This extra-large, food-grade silicone mat is a game-changer when I’m rolling dough, prepping pastry crusts, or working on cookie batches from the c...
BUY ON AMAZONPut the Science Into Practice
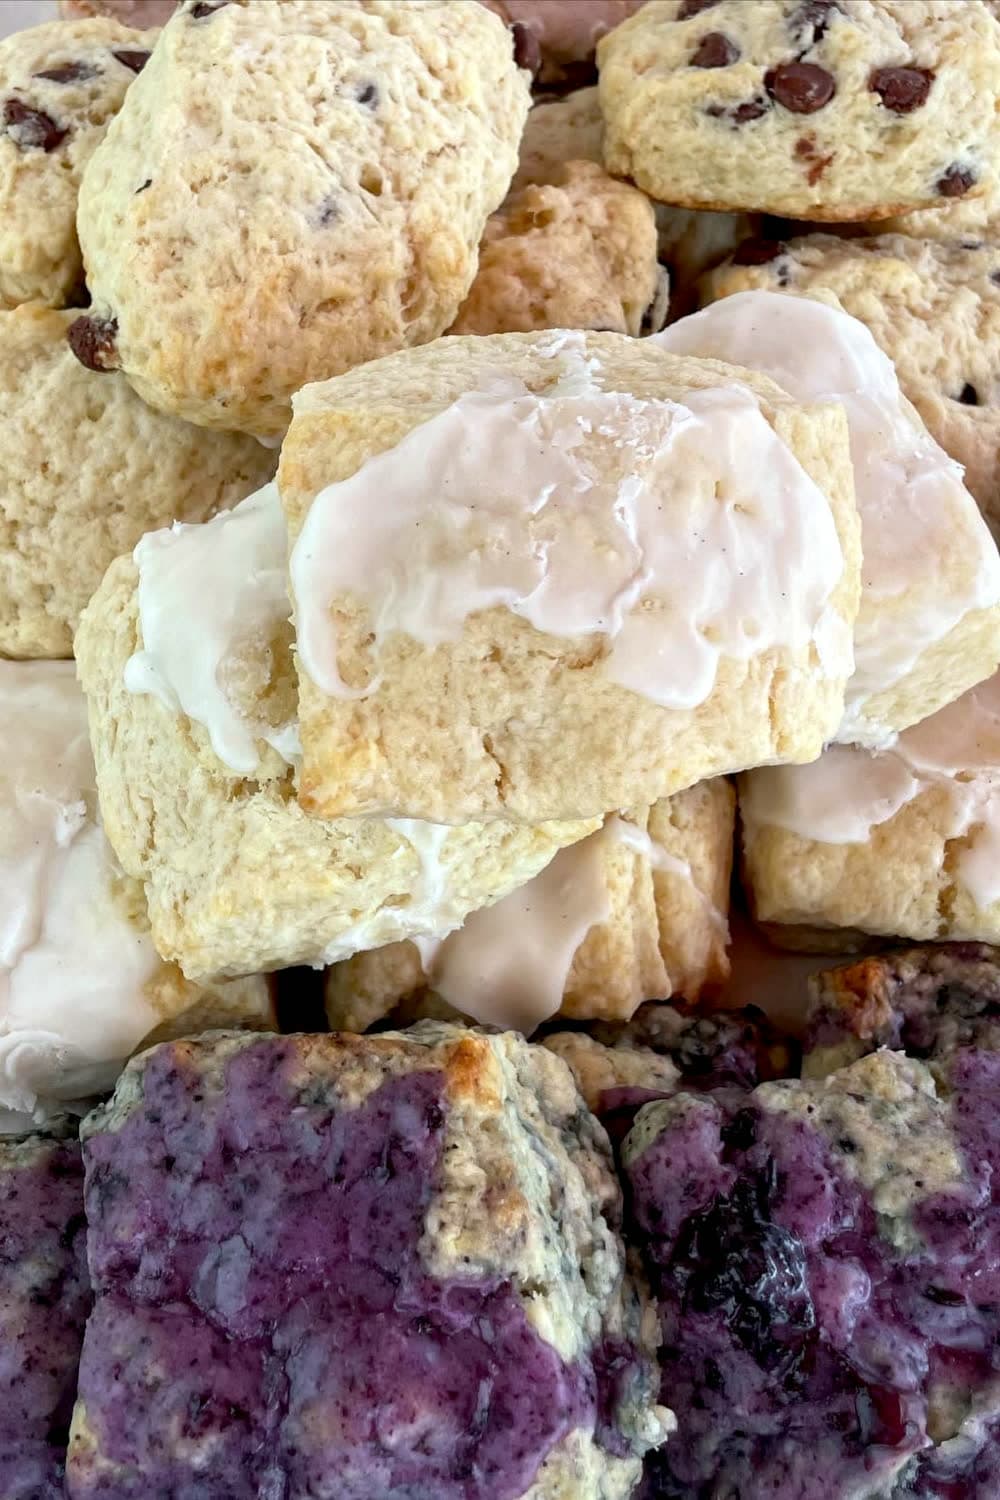
Once you've mastered the basic technique, experiment with add-ins: fresh blueberries, chocolate chips, dried cranberries. The science remains the same: cold butter creates those steam pockets and flaky layers no matter what mix-ins you choose.
The Bottom Line
Flaky scones aren't about technique. They're about temperature.
Cold butter creates steam. Steam creates lift. Lift creates layers. Everything else (speed, mixing method, cutter technique) matters less than keeping that butter cold.
Start with frozen or refrigerator-cold butter. Chill your dough before baking. Use a hot oven. Do those three things and your scones will improve immediately, regardless of your skill level.
Try our Vanilla Scones recipe and taste the difference for yourself. And if you're ready to stock your kitchen with the essentials, shop our baking tools to set yourself up for scone success.